Pushing a Docker Flask App to AWS
Docker! Part 3 - To the Moon…err I mean to the cloud!
Deploying a Docker App to AWS
The purpose of this post is to see how a locally created Python Flask app in a Docker container can be uploaded and served on a public cloud provider. This is useful because that’s the environment we’d ideally be hosting things because it can be secured and scaled and is relatively cheap. I’ll be exploring AWS’ container registry Elastic Container Services (ECS), along with strategies for deployment using EC2 and Fargate.
ECS: It’s Elastic, It’s a Container, It’s a Service
I am using AWS because they off some free services for people like me to test and play. I am not necessarily advocating AWS over another cloud service provided. Actually, but sticking pretty closely to the services created within the container, I am purposely avoiding the AWS services where I can. For example, AWS offers Elastic Beanstalk and Lightsail, both of which are push-button web services. I am not going to use these right now. What I want to see is how to take a container, upload it, and run whatever services it may want. I’ll mess around with Beanstalk later because I’m assuming it scales, so
So, we’ll start by looking at ECS. ECS is a cloud computing service provided by Amazon Web Services (AWS) to manage containers and allow developers to run applications in the Cloud without having to configure an environment for the code to run.
Setting up AWS ECS on the localhost
I have already started working in AWS, so I already have a user account and access keys created. For information on how to do this in AWS, please see the AWS IAM UserGuide.
To use AWS from the command line of the local host workstation, we need to install and configure the AWS CLI. To install it, activate the local environment and install via pip:
pip install awscli
Then configure the AWS connection with the command AWS configure and set up following using the credentials that were created on the AWS console. This provides CLI access to the AWS environment.

Creating an ECS repository
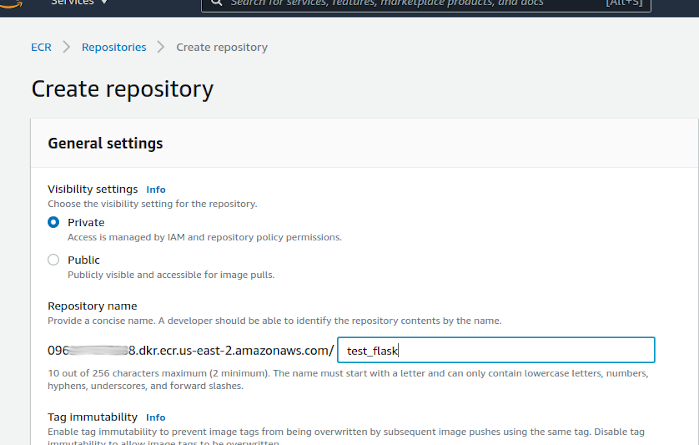
Then, on the AWS console, go to the ECS service dashboard and create a new ECS registration. I am using all of the default settings for now, and I am naming the repository test_flask
And once the registry is created, it looks something like this:

Then, AWS literally provides the commands to push the container - click on the “View Push Commands” button. Here’s a copy-paste:
Retrieve an authentication token and authenticate your Docker client to your registry.
Use the AWS CLI:
aws ecr get-login-password --region us-east-2 | docker login --username AWS --password-stdin YOUR ID.dkr.ecr.YOUR REGION.amazonaws.com
** This comman may result in a very important message:
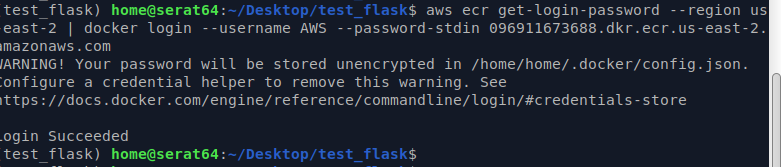
As shown, the AWS password is being stored in the clear to be used by Docker to upload the container to ECR. There is a note to configure credential helper services for this - Need to make a note to come back to this. As this is all test material, it’s not time I want to spend right now, but acknowledge that it’s stuff like this that tends to get overlooked in the name if expediency that bites back later. As a security practitioner I should know better…
Build your Docker image using the following command.
docker build -t test_flask .
Need to consider how to operationalize this. So… every time we make changes to source code, we have to rebuild and repush to ECR. Also - how would this work in a multi-developer environment (another note here to spend more time on AWS permissions)?
After the build completes, tag your image so you can push the image to this repository:
docker tag test_flask:latest 096911673688.dkr.ecr.us-east-2.amazonaws.com/test_flask:latest
Presumably this is how ECR knows which uploaded image to present as the current one. This presumes that it stores previous versions?
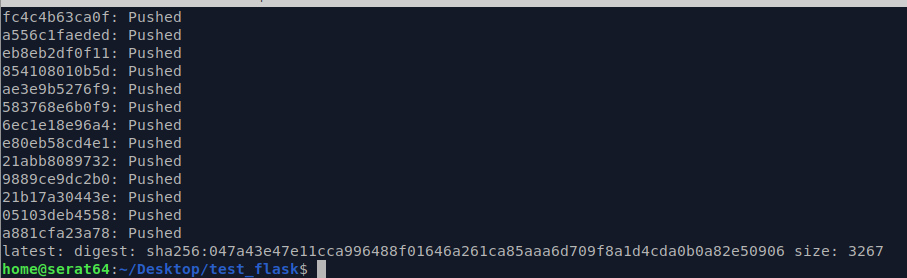
Run the following command to push this image to your newly created AWS repository:
docker push 096911673688.dkr.ecr.us-east-2.amazonaws.com/test_flask:latest
And that will take a bit because AWS is following all of the instructions in the build files. But once it’s done, it looks like this:
Now that we have the container uploaded to the registry, we can create a cluster to host it, and we can make an access policy for it, and then test it.
Creating the Cluster - EC2
Now that we have uploaded the container, we need a place to host it and make it available online. In AWS, there are a couple of ways to do this (that I know of), using dedicate EC2 servers or using Fargate services. I understand EC2 because it’s more relatable - it’s literally a server spun up in AWS that can be interacted with the way you would expect a server to be (it has an OS, you can SSH into it etc.). Fargate is a bit more of a new animal, so will spend some more time on it below.
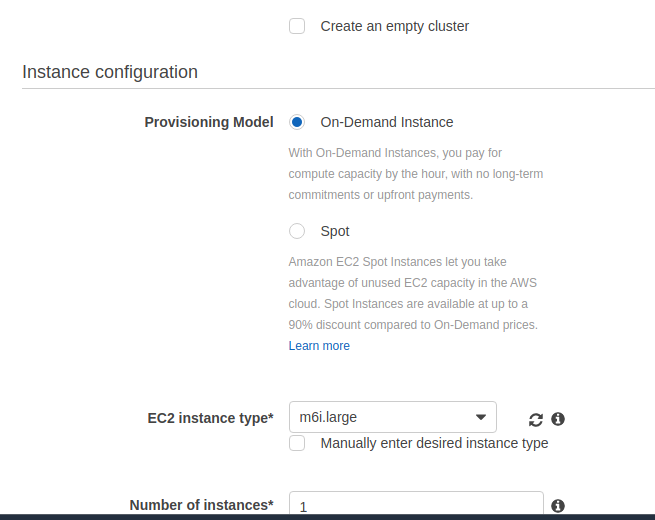
From the AWS Container Services menu on the left, under ECS choose Clusters. Once there, select create cluster a new cluster. We’ll choose server + networking because we’re going to request the whole shebang. I named it test, and just left everything default for now.

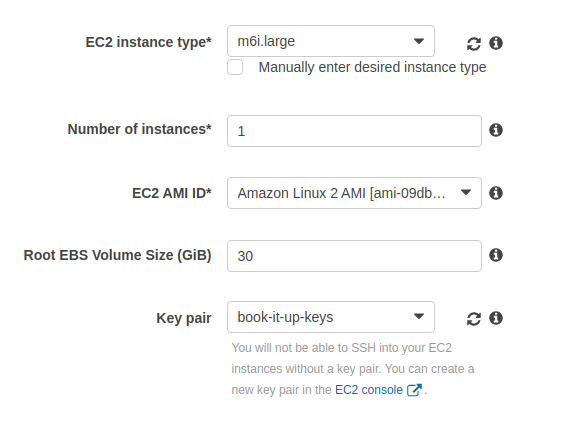
I am going to choose mostly defaults here, but I wanted to point out the choices. We need to pick everything - server size, ssh keys, networking subnets etc. I am highlighting this because when I did the same thing using Fargate, none of these are needed - AWS just provisions a scalable service that is much less transparent.
Also - can we marvel again at the amazingness of seeing all of this create at the push of a button?? New server with clean install, application of keys, subnet create, routing in place… The flexibility, the speed and the complexity at which these environments are spun up is astounding. In the old days, this would have been a project just to get the environment up and running. Now, it’s a couple of choices on a webpage, and the click on a button.
I just had all supporting items created from scratch, except for SSH keys VPC and security group because I already have some I use for test projects and I did not want to have to make new ones of those.
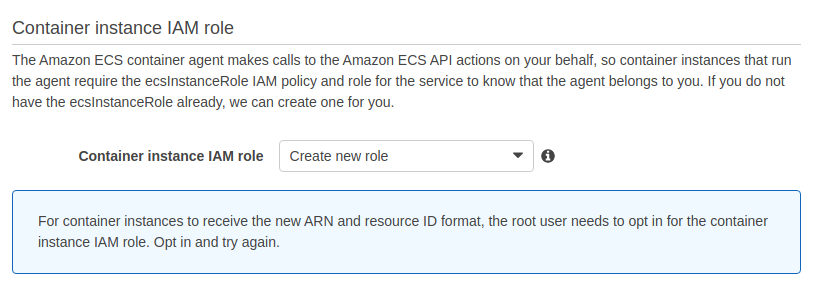
One thing I did want to point out that is kind of important: Please note below that we’re requesting a new IAM instance role be created. This controls the security permissions to the instance. More on this below.
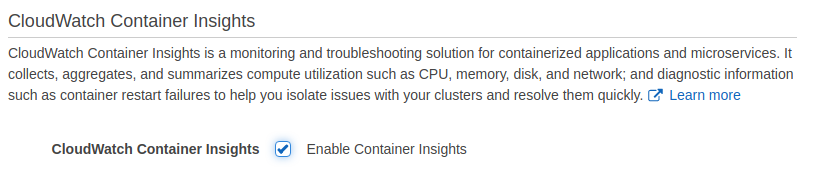
Also, I did turn on Cloudwatch for monitoring. I will look into it briefly. I feel like it’s something I should know how to do. I assume it will cost more money. That’s something else I need to look into at some point… How much is all of this going to cost??
Creating and running a task
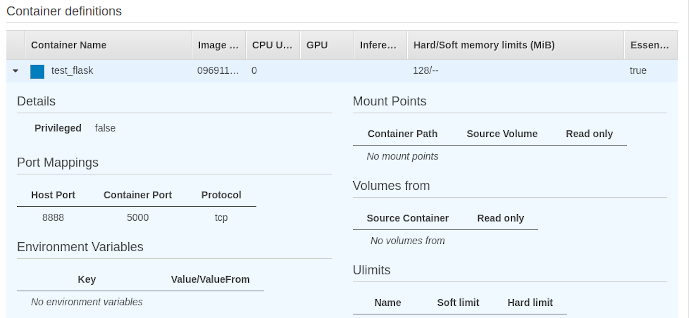
Once the cluster is created, a task needs to be defined and assigned to it. The task at hand? Running our container of course. What container, you ask? The one we put into the registry, of course.
From the Elastic Container Service (ECS) dashboard, choose Task Definitions.
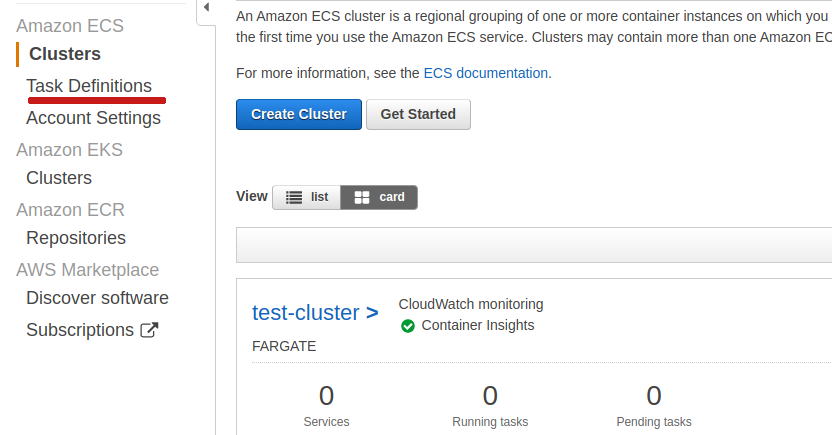
For Launch Type, we’ll choose EC2, because remember that’s what we set up above. Under task definition, select the task you created above. It automatically fills in. In the cluster name enter the name of the cluster we created.
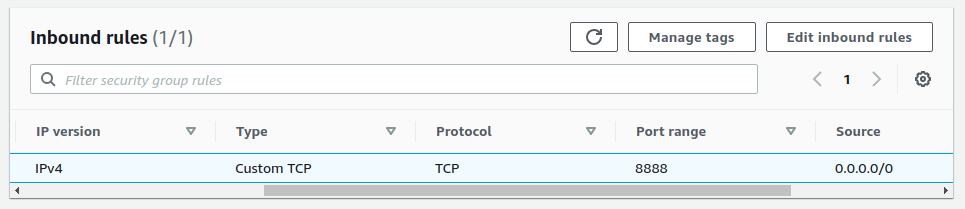
Opening the Firewall
In order to access the content from outside the VPC, the port must be opened up via and ACL entry. This is controlled via the security group assigned to the EC2 container (set up above). To test the Flask service, we’ll just open the port we exposed in the container (8888) and apply it to the security group. This can be accessed from the EC2 console.
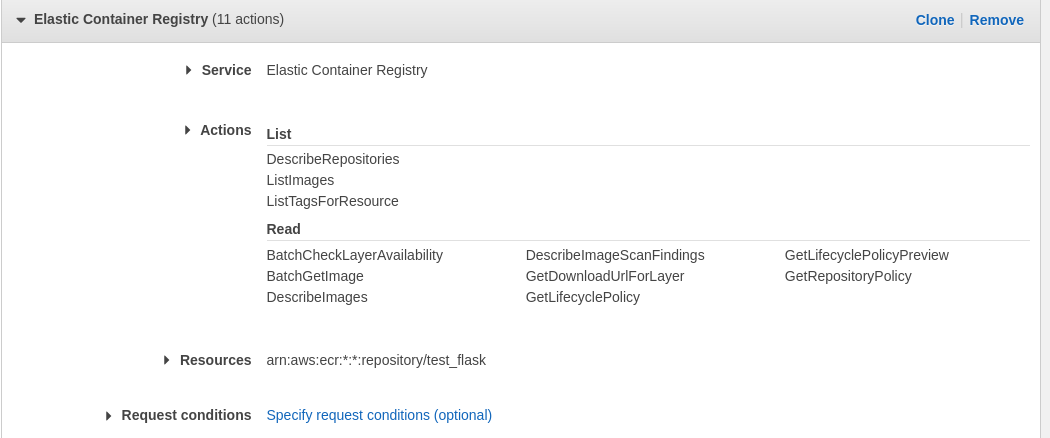
Setting a registry access policy
The registry entry we created for the container is private, so it will need a policy to permit other services to read it. This is done in the IAM service. Just create a new policy - for service choose Elastic Container Registry, and then pick the container that was uploaded there above. Then, just choose the actions that should be permitted. I limited those here to read and list, just for testing purposes. There is a section for limiting access that could require MFA, or limit to a specific IP address or range. I could imagine doing this in production to further make things secure (e.g. limiting access to the VPC etc.)
and Finally…Testing the URL
After all that, we can test that 1) the task is running in 2) the cluster we created and loaded on to the 3) EC2 server and is serving the 4) container we created and loaded on to the 5) Elastic Container Registry.
From the EC2 dashboard, we can grab the public IP address this train has been assigned. And, assuming all has gone correctly….
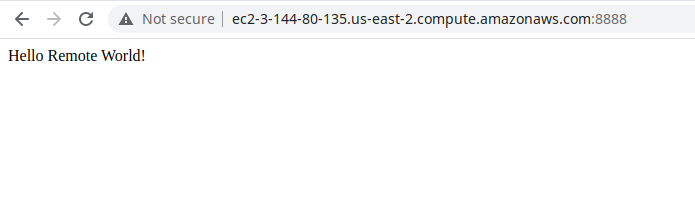
Success!
Fargate
I also messed around with doing all of the above on Amazon’s Fargate service. Basically, it’s a serverless hosting service for the cluster. Instead of provisioning a dedicated EC2 server, with an OS that is accessible/manageable, Fargate is simply an entity designed to serve exactly the task it has provisioned to serve. It scales automatically, and you get charged by the load. From a set up point of view, it was much, much easier. I didn’t go too far down this road because it’s getting a bit further into the the AWS rabbit hole, and I am legitimately trying to avoid that. However, absolutely this assuredly is the future.
Conclusion
This was fun because I moved off my localhost into the cloud. I’m not sure how practical it is to run a Flask server anyway in production. But for that, I guess I could use gunicorn/nginx or something. Anyway, this was a POC. It was a fun exercise. My key take-away though: I expected that the act of moving my agnotic, standalone innocent Docker container to the cloud would be more straight forward. It was NOT. There is every bit as much lingo and AWS nonsense here as doing anything in this environment. Honestly, if I wanted to serve a Flask app in AWS, I just would be simplified the whole thing and used Elastic Beanstalk or something. I guess the point I am trying to make here is that even when it’s supposed to simple, it’s not. I find that nefarious. It reminds of a tried and true meme. Adios.
