In the Land of Milk and Honeypots, part four
Virtually a server…

As noted in my previous entries, I have been messing around with and documenting the creation of a honeypot server and environs, and the use of tools and techniques to analyze activity. In the last post I set up the server and did basic hardening. In this post, I will finish the set up of the virtual machines and install the Modern Honey Network (MHN) application.
Testing open ports
I ran a scan of open ports on the newly created and hardened server to make sure nothing unexpected was being exposed:
nmap -v -sT localhost
sudo nmap -v -sS localhost
Installing virtual machine infrastructure using Virtualbox.
I decided to go with Virtualbox to manage the virtual machines I will use to run the test devices. Installing Virtualbox was really easy and seemless.
apt-get install virtualbox
I decided for the sake of ease to use the GUI front-end to manage the VM’s. I initially had some trouble with getting the application to forward X11 through the ssh tunel using xauth. To make it work, it was necessary to ensure the following items were set.
I enabled following in server sshd_config file:
X11UseLocalHost no
And also had to make sure that following was uncommented in my local ssh file:
ForwardX11Trusted yes
Then, to run the GUI of Virtualbox, I logged in using the -X switch and ran with
virtualbox &
Settign up the guest devices was extremely simplet and intuitive. To start a virtual machine via command the line, this command worked fine.
sudo VBoxManage startvm "VM name" --type headless
I also scripted “startmeup” as follows to automate it a little:
set -x  # Output executed commands
set -e  # Make script fail as soon as one command fails

read VMName
sudo VBoxManage startvm "$VMName" --type headless
After creating a template installed that was hardnened, I took a snapshot of it, and then made copies of it. The cloning was trivial and went seamlessly.
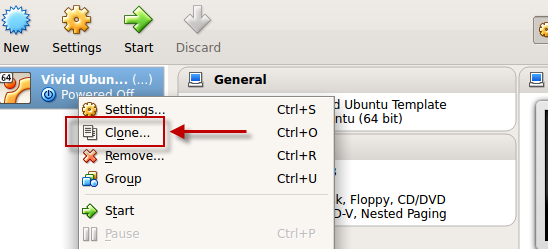
- cloning made easy!
I then logged into each clone and changed references to the template device. Among files that were edited:
- /etc/hosts
- /etc/hostname
- $home/.bash_profile
- /etc/psad/psad.conf
- /etc/postfix/main.cf
I booted up both devices and confirmed that there were no conflicts or issues. I then created a snapshot of the newly created clone.
Backups
In addition to the cloning using Virtualbox, I also created backups of everything using the Dump utility:
sudo dump 0zf /backups/bosch.boot.backup.8.27.2015 /boot
sudo dump 0zf /backups/bosch.root.backup.8.27.2015 /
As a final edit to the firewall, I changed ICMP rules on host to disable its response to pings. I know that scanning on the subnet will still find it, but I want the host to be as non-rsponsive and unobtrusive as possible. I edited /etc/ufw/rules.before as follows. This is to block ping and other ICMP messages to the host machine.
# ok icmp codes for INPUT
-A ufw-before-input -p icmp --icmp-type destination-unreachable -j DROP
-A ufw-before-input -p icmp --icmp-type source-quench -j DROP
-A ufw-before-input -p icmp --icmp-type time-exceeded -j DROP
-A ufw-before-input -p icmp --icmp-type parameter-problem -j DROP
-A ufw-before-input -p icmp --icmp-type echo-request -j DROP
Installing the Modern Honey Network (MHN) infrastructure
Installed following this excellent guide: https://itandsecuritystuffs.wordpress.com/2015/02/03/honeypot-networks/
Please note: I had issues running MHN on Ubuntu 15 due to python compiling issues. I was getting “python setup.py egg_info” failed with error code 1”. I tried a bunch of stuff, but felt like it was a waste of time. Because others have documented it working ok, I ended up installing on Trusty instead, with no issue.
sudo apt-get update && sudo apt-get upgrade

cd /opt/
sudo apt-get install git -y
sudo git clone https://github.com/threatstream/mhn.git
cd mhn/scripts/
sudo -H ./install_hpfeeds.sh
sudo -H ./install_mnemosyne.sh
sudo -H ./install_honeymap.sh
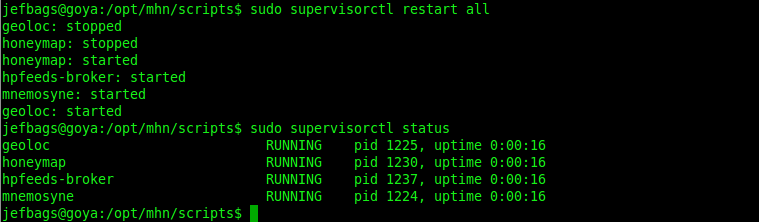
The scripts took a while, but ran ok. I ran a status check, and everything looked ok.
sudo supervisorctl status
On reboot, I went to check the status of the services, and noticed that some of them failed on restart.

I ran the restart command (sudo supervisorctl restart all), and everything came up ok.
Issue with celery-worker
I then installed the server component with the script
sudo ./install_mhnserver.sh
This also took a while, but went in ok. However, on completion and status check, I noticed an issue with the celery worker service. It was failing to start with a fatal error. Upon reviewing the developer Threatstream’s wiki on github ( https://github.com/threatstream/mhn), I ran the commands below to change ownership of the log file, and that did resolve the issue.
cd /var/log/mhn/
sudo chown www-data mhn.log
sudo supervisorctl start mhn-celery-worker
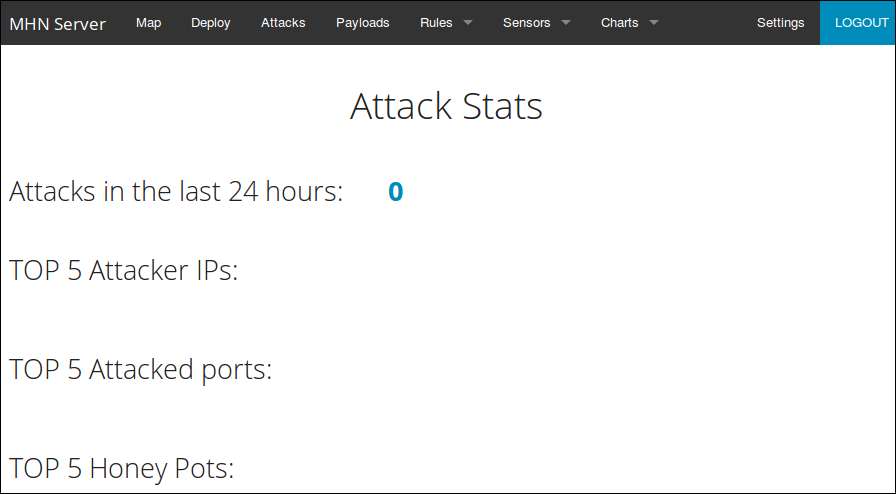
I connected to the web server and confirmed it was up and running!
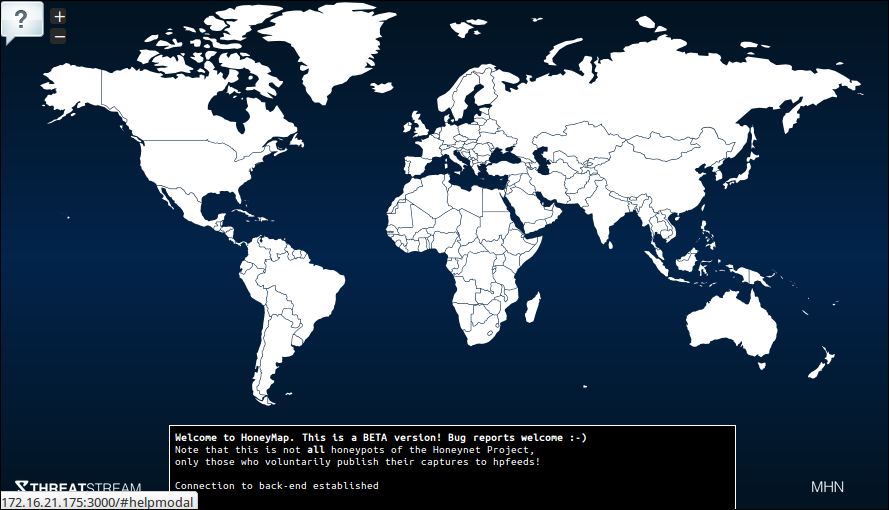
This looks really cool and I hope I can get it to work…
Conclusion
Well, this has been productive, and the MHN application looks great! I can’t wait to start deploying honeypots and collecting data.